Pumpkin Chip Banana Bread – Delicious & Easy Recipe
Pumpkin chip banana bread is the ultimate autumnal hug in edible form. There’s something undeniably comforting about its moist crum extractb, sweet banana undertones, and the delightful pops of melty pumpkin-spiced chocolate chips. We all have those days when we crave a taste of home, a little bit of nostalgia baked into every bite, and this particular rendition of pumpkin chip banana bread delivers exactly that. It’s more than just a quick bread; it’s a celebration of fall flavors, a perfect pairing for a steaming mug of cider or coffee, and a guaranteed crowd-pleaser. What makes it truly special is the masterful fusion of two beloved comfort foods – the tropical sweetness of ripe bananas and the cozy warmth of pumpkin spice. Get ready to fall in love with this extraordinary pumpkin chip banana bread!
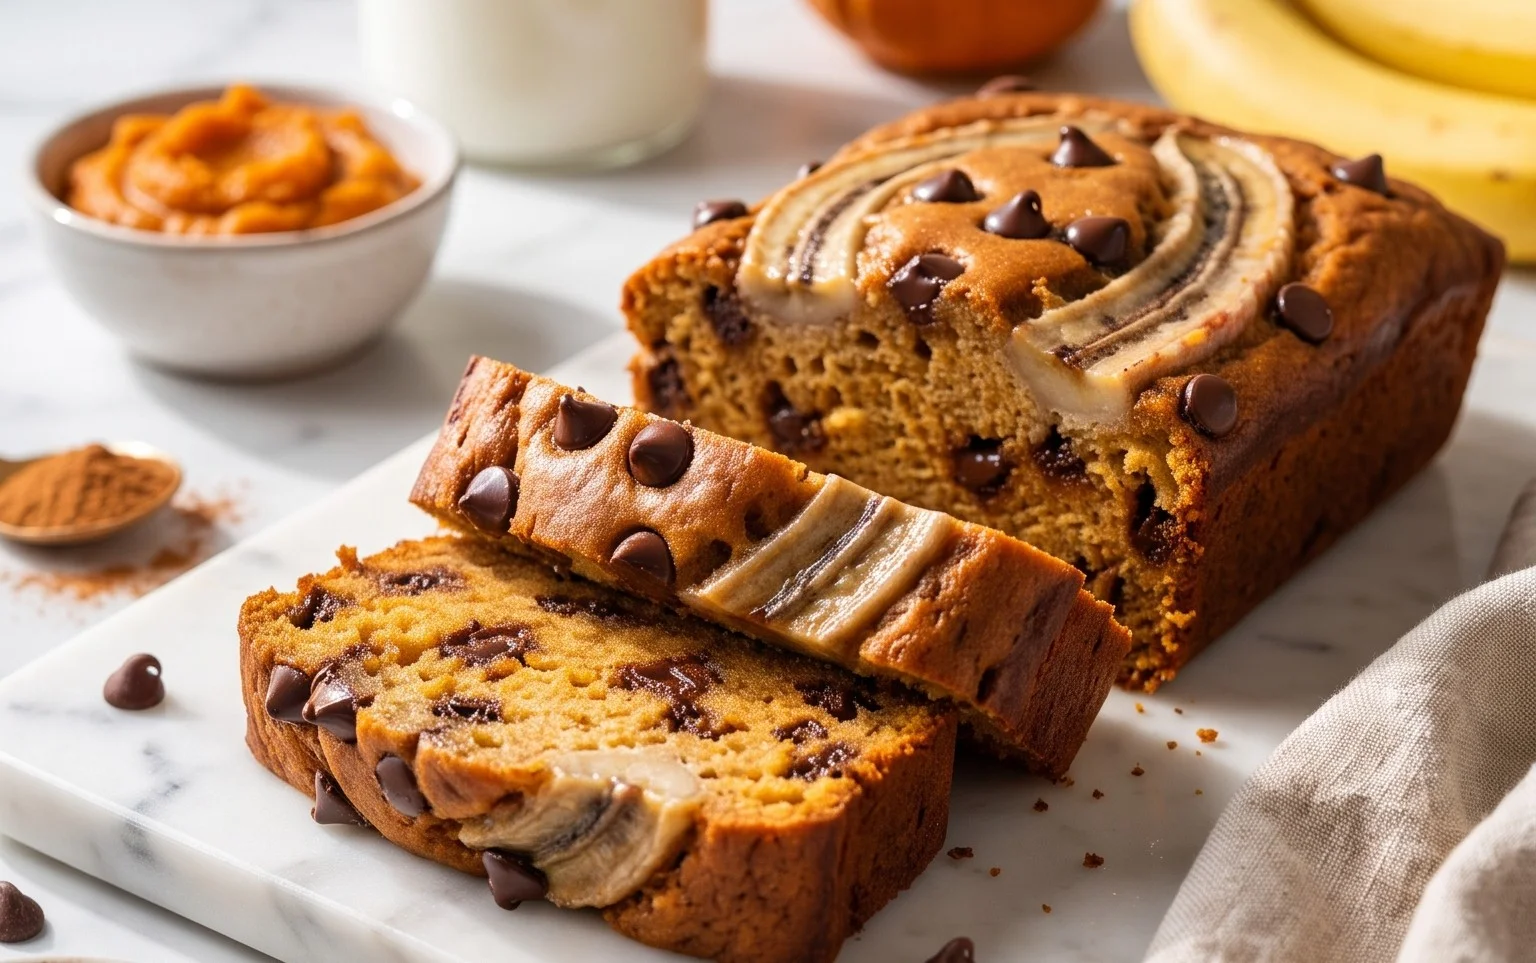
Pumpkin Chip Banana Bread
Fall flavors are truly something special, and for me, that means embracing all things pumpkin and cinnamon. This year, I decided to combine two of my absolute favorite baked goods into one incredible loaf: pumpkin and banana bread. The result is a moist, flavorful, and utterly delicious Pumpkin Chip Banana Bread that’s perfect for breakfast, a snack, or even dessert. It’s incredibly easy to make, and the aroma that fills your kitchen as it bakes is simply divine. Get ready to impress yourself and anyone lucky enough to snag a slice!
Ingredients:
Getting Started: The Foundation of Flavor
Before we dive into the mixing, let’s make sure you have everything prepped. Preheat your oven to 350°F (175°C). This is a crucial step for ensuring even baking. Grease and flour a standard 9×5 inch loaf pan, or line it with parchment paper for easy removal. Parchment paper is a lifesaver if you’re prone to sticking! For the bananas, the riper they are, the sweeter and more flavorful your bread will be. Look for bananas with plenty of brown spots – they mash up beautifully and contribute essential moisture. I like to mash mine with a fork right in a bowl until they’re mostly smooth but still have a few small chunks for texture.
The Mixing Process: Bringin extractg It All Together
This recipe uses the “muffin method” of mixing, which means we’ll combine our wet ingredients and dry ingredients separately before bringin extractg them together. This helps to prevent overmixing, which can lead to a tough bread.
1. In a large bowl, mash your very ripe bananas. Add the room temperature egg, pumpkin puree, cooled melted butter, and vanilla extract to the mashed bananas. Whisk everything together until it’s well combined and smooth. The consistency should be a lovely, thick, and creamy mixture. Having the egg at room temperature helps it incorporate more evenly into the batter, leading to a better rise and texture. If your egg is cold, you can place it in a bowl of warm water for about 5-10 minutes to bring it up to temperature.
2. In a separate medium bowl, whisk together the flour, brown sugar, baking soda, baking powder, sea salt, and the optional pumpkin pie spice. Make sure to break up any clumps of brown sugar. The baking soda and baking powder are our leavening agents, working to give the bread its wonderful lift. The sea salt balances the sweetness and enhances all the other flavors. If you’re using the pumpkin pie spice, this is where it gets whisked in thoroughly with the dry ingredients, ensuring its flavor is distributed evenly throughout the loaf.
3. Now, it’s time to combine the wet and dry ingredients. Pour the wet ingredients into the dry ingredients. Use a spatula or wooden spoon to gently fold the ingredients together until just combined. It’s really important not to overmix here. You should still see a few streaks of flour. Overmixing develops the gluten in the flour too much, which can make your banana bread tough and dense. We want a tender crum extractb, so a light hand is key.
4. Gently fold in the chocolate chips. I like to reserve a tablespoon or two to sprinkle on top before baking for an extra chocolatey visual appeal. Again, fold them in just enough to distribute them throughout the batter. Don’t overwork the batter at this stage. The goal is to have pockets of melty chocolate goodness throughout your bread.
Baking and Cooling: The Grand Finnon-alcoholic ale
5. Pour the batter into your prepared loaf pan and spread it evenly. If you reserved any chocolate chips, sprinkle them over the top of the batter now. Place the loaf pan on the center rack of your preheated oven. Bake for 50-65 minutes, or until a wooden skewer or toothpick inserted into the center of the loaf comes out clean. Baking times can vary depending on your oven, so start checking around the 50-minute mark. If the top of your bread is browning too quickly but the inside isn’t cooked yet, you can loosely tent it with aluminum foil. This prevents the crust from getting too dark while allowing the interior to finish baking.
Once baked, carefully remove the loaf pan from the oven. Let the banana bread cool in the pan for about 10-15 minutes. This allows it to set up and makes it easier to remove from the pan without breaking. After the initial cooling in the pan, gently invert the loaf onto a wire rack to cool completely. Cooling completely is essential for the best texture and flavor, and it prevents the bread from becoming gummy. Waiting for it to cool is the hardest part, but I promise it’s worth it!
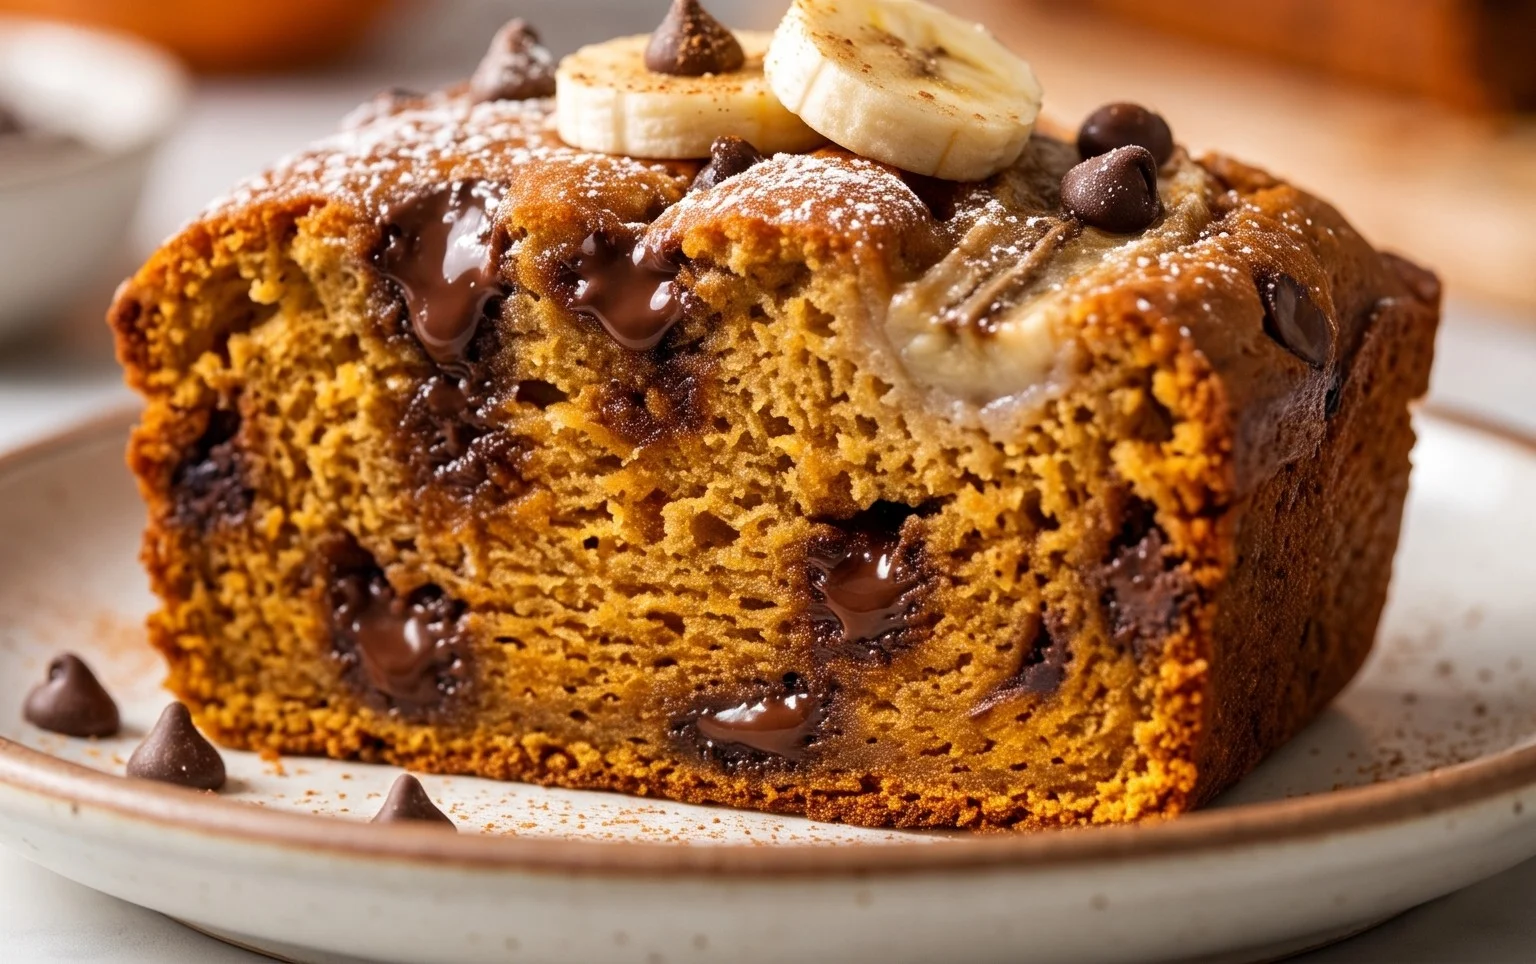
This Pumpkin Chip Banana Bread is fantastic on its own, but it’s also delicious with a smear of butter, cream cheese, or even a drizzle of honey. Enjoy this delightful taste of autumn!
Conclusion:
This Pumpkin Chip Banana Bread recipe is an absolute winner! It masterfully combines the comforting sweetness of ripe bananas with the warm, spiced notes of pumpkin and the delightful crunch of chocolate chips. It’s the perfect treat for any occasion, whether you’re looking for a delicious breakfast option, an afternoon pick-me-up, or a crowd-pleasing dessert. The moist texture and the irresistible aroma that fills your kitchen while baking make it a truly rewarding baking experience. I’m confident you’ll love it as much as I do!
Serving this delightful loaf warm, perhaps with a dollop of cream cheese frosting or a smear of butter, is heavenly. It also pairs wonderfully with a hot cup of coffee or tea. Don’t be afraid to get creative with variations! You could easily add chopped nuts like walnuts or pecans for extra texture, a sprinkle of cinnamon or nutmeg to the batter for a deeper spice profile, or even swap out the chocolate chips for butterscotch or white chocolate for a different twist. I highly encourage you to give this fantastic Pumpkin Chip Banana Bread recipe a try – you won’t regret it!
Frequently Asked Questions:
Can I make this recipe vegan?
Absolutely! You can easily make this Pumpkin Chip Banana Bread vegan by using a flax egg (1 tablespoon ground flaxseed mixed with 3 tablespoons water, let sit for 5 minutes) instead of regular eggs, and substituting the dairy milk with your favorite plant-based milk (like almond, soy, or oat milk). Ensure your chocolate chips are also dairy-free.
How do I store leftover bread?
Once cooled, store the Pumpkin Chip Banana Bread in an airtight container at room temperature for up to 3 days. For longer storage, you can wrap it tightly in plastic wrap and then in foil, and keep it in the refrigerator for up to a week, or freeze individual slices or the whole loaf for up to 3 months. Thaw at room temperature before enjoying.
What can I do if my bananas aren’t very ripe?
While very ripe, spotty bananas are ideal for the best flavor and sweetness, you can still achieve a delicious loaf if yours aren’t quite there yet. You can mash them and then lightly sauté them in a pan with a tiny bit of butter or oil for a few minutes to soften them and bring out their sweetness, or simply use them as is; the flavor will be a little less pronounced but still enjoyable.
Pumpkin Chip Banana Bread
A moist and flavorful banana bread enhanced with the warm spices of pumpkin and studded with chocolate chips.
Ingredients
-
3 very ripe bananas, mashed (approx. 1 1/2 cup)
-
1 large egg
-
2/3 c pumpkin puree
-
1 1/2 c all-purpose flour
-
5 T unsalted butter, melted and cooled
-
1/3 c packed brown sugar
-
1 tsp baking soda
-
1/2 tsp baking powder
-
1 tsp vanilla extract
-
1/2 tsp sea salt
-
1 c chocolate chips
-
1/2 tsp pumpkin pie spice (optional)
Instructions
-
Step 1
Preheat oven to 350°F (175°C). Grease and flour a 9×5 inch loaf pan. -
Step 2
In a large bowl, mash the ripe bananas until smooth. Stir in the melted and cooled butter, egg, pumpkin puree, and vanilla extract. -
Step 3
In a separate medium bowl, whisk together the flour, brown sugar, baking soda, baking powder, salt, and pumpkin pie spice (if using). -
Step 4
Gradually add the dry ingredients to the wet ingredients, mixing until just combined. Do not overmix. -
Step 5
Fold in the chocolate chips. -
Step 6
Pour the batter into the prepared loaf pan and spread evenly. -
Step 7
Bake for 50-65 minutes, or until a wooden skewer inserted into the center comes out clean. -
Step 8
Let the bread cool in the pan for 10 minutes before transferring it to a wire rack to cool completely.
Important Information
Nutrition Facts (Per Serving)
It is important to consider this information as approximate and not to use it as definitive health advice.
Allergy Information
Please check ingredients for potential allergens and consult a health professional if in doubt.