Peaches and Cream Pie Recipe- Best Summer Dessert
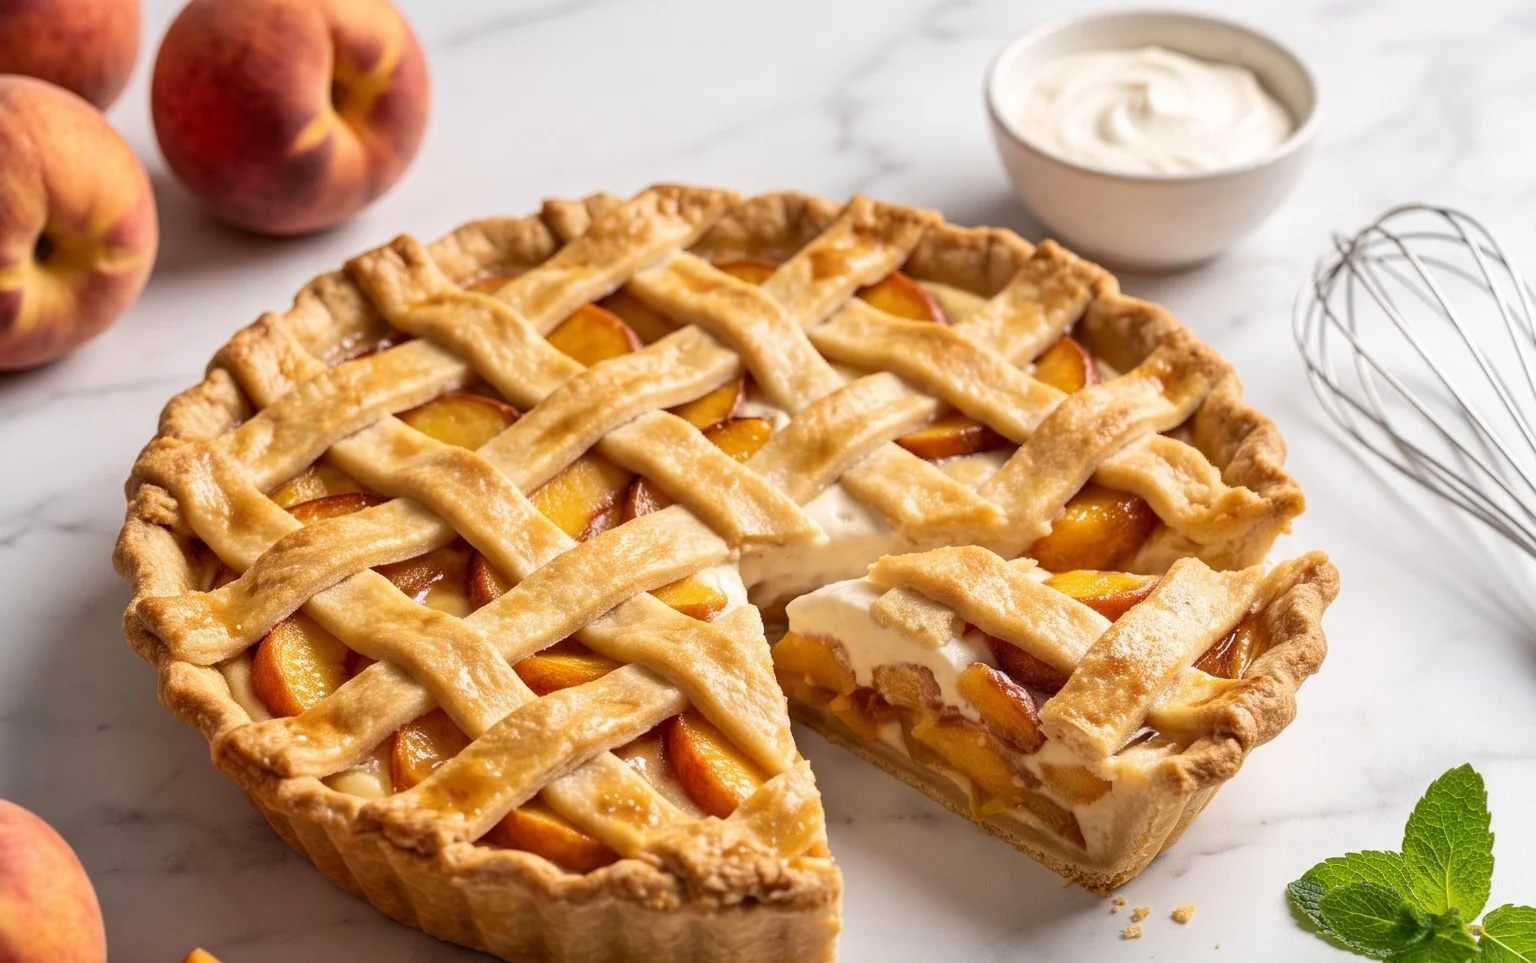
Peaches and Cream Pie is more than just a dessert; it’s a hug in a pastry shell, a sun-drenched memory baked into every slice. There’s something undeniably magical about the way ripe, juicy peaches soften and sweeten, their vibrant flavor mingling with the velvety embrace of a rich, creamy filling. It’s a classic for a reason, a taste that evokes summer afternoons, lazy picnics, and the sheer joy of simple, delicious indulgence. What makes this Peaches and Cream Pie so special? It’s the perfect balance: the slightly tart burst of fresh peaches cutting through the luscious sweetness of the cream, all cradled in a flaky, buttery crust that crum extractbles just so with every bite. It’s the kind of pie that makes everyone at the table smile, a guaranteed crowd-pleaser that brings a touch of pure, unadulterated happiness.
Peaches and Cream Pie
This Peaches and Cream Pie is a slice of summer sunshine, a delightful dessert that balances the sweet, juicy goodness of peaches with a luscious, creamy filling. It’s surprisingly easy to make, with distinct layers that come together to create a truly special treat. Whether you’re a seasoned baker or just looking for a show-stopping dessert for your next gathering, this pie is sure to impress. The aroma alone will transport you to a warm, sunny orchard, and the taste is pure bliss.
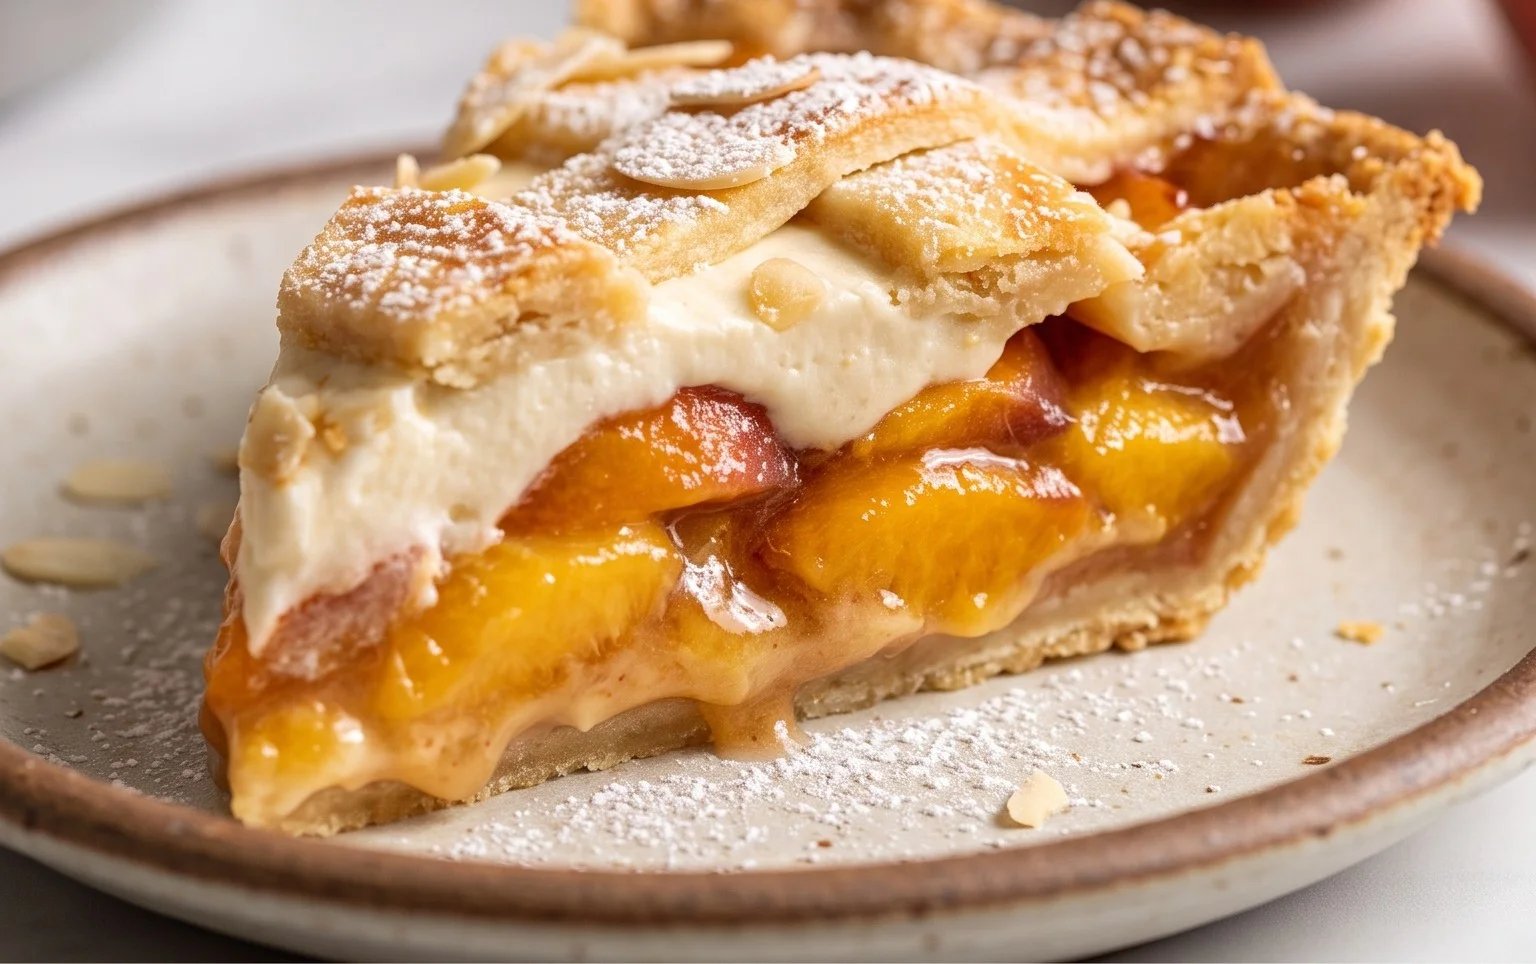
The beauty of this pie lies in its layered construction. We start with a tender, slightly cake-like base that provides a sturdy yet soft foundation. The second layer is where the stars of the show, our beautiful peaches, take center stage. Finally, a rich, velvety cream cheese mixture crowns the pie, creating a harmonious blend of textures and flavors. Don’t be intimidated by the layers; each step is straightforward and rewarding.
Ingredients:
Cooking Instructions:
Let’s get started on creating this delightful pie!
Preparing the Base Layer:
Start by preheating your oven to 350 degrees Fahrenheit (175 degrees Celsius). While the oven heats up, grab a medium-sized mixing bowl. In this bowl, whisk together the all-purpose flour, salt, and baking powder. This dry mixture will form the base of our delicious crust. Next, add the entire package of non-instant vanilla pudding mix to the dry ingredients. It might seem a little unusual to add pudding mix here, but it’s the secret to our wonderfully tender and flavorful crust! Give everything a good stir to combine.
Now, add the softened butter to the flour mixture. You can use your fingertips, a pastry blender, or even two forks to cut the butter into the dry ingredients until the mixture resembles coarse crum extractbs. It’s important that the butter is softened but not melted, as this will help create that perfect texture. Once you have achieved the crum extractbly consistency, add the egg and milk. Stir just until everything is combined. Don’t overmix the batter; we want it to be moist but not runny. This will be a thick batter, almost like a dense cake batter, and that’s exactly what we’re aiming for. Spread this batter evenly into the bottom of an ungreased 9-inch pie plate. Make sure to get it all the way to the edges to form a complete base for our pie.
Adding the Peaches:
If you are using canned sliced peaches, make sure to drain them thoroughly and reserve that sweet, fragrant juice. You’ll need it later for the creamy topping. If you’re using fresh peaches, now is the time to prepare them. Peel, pit, and slice your fresh peaches. Aim for slices that are about 1/4 inch thick. Arrange these peach slices in a single layer over the batter in the pie plate. Try to cover the entire surface of the batter as evenly as possible. The batter will puff up around the peaches as it bakes, creating a lovely contrast in textures. If you have a few extra peach slices, feel free to pile them on a bit – who can resist extra peaches?
Creating the Creamy Topping:
In a separate bowl, combine the softened cream cheese and granulated sugar. Beat these together with an electric mixer on medium speed until the mixture is smooth and creamy. This step is crucial for achieving a luscious, lump-free topping. Make sure your cream cheese is truly softened; if it’s too cold, it will be difficult to get a smooth consistency. Once it’s smooth, gradually beat in the reserved peach juice. Start with a tablespoon at a time, mixing until fully incorporated before adding more. This juice will not only add a subtle peach flavor to the cream cheese but will also help to thin it out to a spreadable consistency.
Assembling and Baking:
Gently dollop spoonfuls of the cream cheese mixture over the peaches. Don’t worry about making it perfectly smooth; a slightly rustic look adds to the charm of this pie. You can then gently spread it with the back of a spoon or an offset spatula to cover the peaches. If you like, sprinkle a little cinnamon over the top of the cream cheese layer for an extra layer of warmth and flavor. Now, carefully place the pie plate onto a baking sheet. This is a good preventative measure in case any of the filling bubbles over. Bake in the preheated oven for 40-50 minutes, or until the crust is golden brown and the cream cheese topping is set and lightly golden in spots.
Cooling and Serving:
Once the pie is baked, remove it from the oven and place it on a wire rack to cool completely. This is perhaps the hardest part – waiting for it to cool! Allowing it to cool completely will give the layers time to set properly, making it easier to slice. You can serve this pie at room temperature or chilled. For an extra special touch, serve with a dollop of whipped cream or a scoop of vanilla ice cream. The contrast of the warm pie with cool toppings is divine. Enjoy every delightful bite of your homemade Peaches and Cream Pie!
Conclusion:
There you have it – a truly delightful Peaches and Cream Pie recipe that’s guaranteed to impress! This pie is a celebration of summer’s bounty, perfectly balancing the sweet, juicy peaches with the rich, velvety cream filling. Its simplicity makes it accessible for bakers of all levels, while the resulting flavor is sophisticated enough for any occasion. Whether you’re looking for a show-stopping dessert for a family gathering or a comforting treat for a quiet evening, this Peaches and Cream Pie delivers pure joy in every bite. I encourage you to give this recipe a try; you won’t be disappointed by its comforting flavors and crowd-pleasing appeal. Don’t be afraid to experiment with the filling or crust to make it your own!
Serving Suggestions & Variations:
For the ultimate experience, serve this glorious pie slightly chilled or at room temperature. A dollop of freshly whipped cream, a sprinkle of cinnamon, or even a scoop of vanilla bean ice cream makes it even more decadent. If you’re feeling adventurous, consider adding a hint of almond extract to the cream filling for a subtle, nutty undertone, or a pinch of nutmeg to the crust for an extra layer of warmth.
Frequently Asked Questions:
Can I use frozen peaches for this recipe?
Absolutely! If using frozen peaches, ensure they are fully thawed and drained very well to remove excess moisture. You might need to adjust the baking time slightly, as frozen fruit can release more liquid.
What kind of crust works best for Peaches and Cream Pie?
While a classic flaky pastry crust is wonderful, this pie also shines with a grabeef ham cracker crust or even a gin extractgersnap cookie crust for a spicier kick. Feel free to get creative with your favorite pie crust!
How long will leftover pie last?
Stored in an airtight container in the refrigerator, this Peaches and Cream Pie will typically last for 3-4 days. The cream filling is best enjoyed within this timeframe.
Peaches and Cream Pie
A delightful pie with a buttery crust, a creamy peach layer, and a rich cream cheese filling.
Ingredients
-
3/4 cup all purpose flour
-
1/2 teaspoon salt
-
1 teaspoon baking powder
-
1 (3 ounce) package non-instant vanilla pudding mix
-
3 Tablespoons butter, softened
-
1 egg
-
1/2 cup milk
-
1 (28 ounce) can sliced peaches
-
1 (8 ounce) package cream cheese, softened
-
1/2 cup granulated sugar
-
3 Tablespoons reserved peach juice
Instructions
-
Step 1
Preheat oven to 350°F (175°C). In a medium bowl, whisk together flour, salt, and baking powder. -
Step 2
Stir in the vanilla pudding mix. Add softened butter and mix until crumbly. -
Step 3
In a separate bowl, whisk the egg and milk. Add to the dry ingredients and mix until just combined. Press this mixture evenly into the bottom and up the sides of an ungreased 9-inch pie plate to form the crust. -
Step 4
Drain the sliced peaches, reserving the juice. Arrange the drained peach slices over the crust. -
Step 5
In another bowl, beat the softened cream cheese and granulated sugar until smooth. Stir in the reserved peach juice until well combined. -
Step 6
Pour the cream cheese mixture evenly over the peaches. -
Step 7
Bake for 35-45 minutes, or until the filling is set and lightly golden brown. -
Step 8
Let cool completely before chilling in the refrigerator for at least 2 hours before serving.
Important Information
Nutrition Facts (Per Serving)
It is important to consider this information as approximate and not to use it as definitive health advice.
Allergy Information
Please check ingredients for potential allergens and consult a health professional if in doubt.