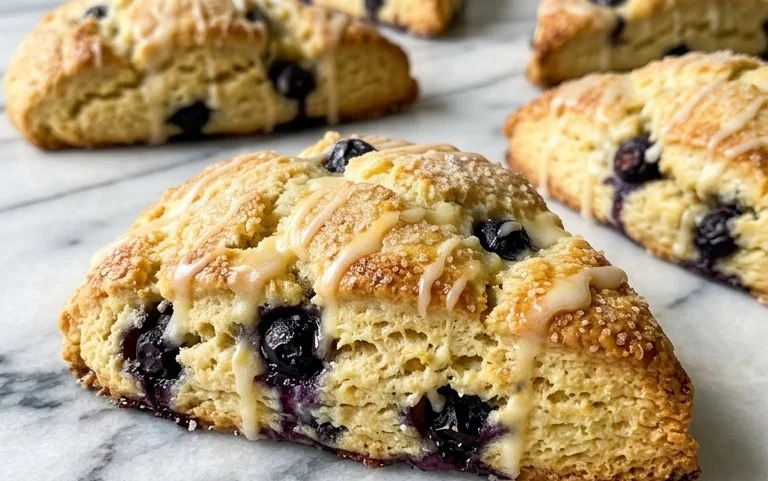
Gluten-Free Buttery Tea Scones – Easy Recipe
Gluten-free buttery tea scones are an absolute revelation, transforming a beloved classic into a treat everyone can enjoy. For so long, achieving that perfect crum extractb and rich, buttery flavor in a gluten-free scone felt like a distant dream. But I’m here to tell you, that dream is now a delicious reality! These aren’t just any gluten-free scones; they’re a testament to how wonderful simple, well-made baked goods can be, even without gluten. The aroma that fills your kitchen as they bake is pure comfort, promising a tender interior and a delightfully crisp exterior. What makes them truly special is the way they capture the essence of a traditional tea time – light, airy, and beggin extractg to be slathered with clotted cream and jam. You’ll love how effortlessly they come together, proving that dietary restrictions don’t have to mean sacrificing indulgence.
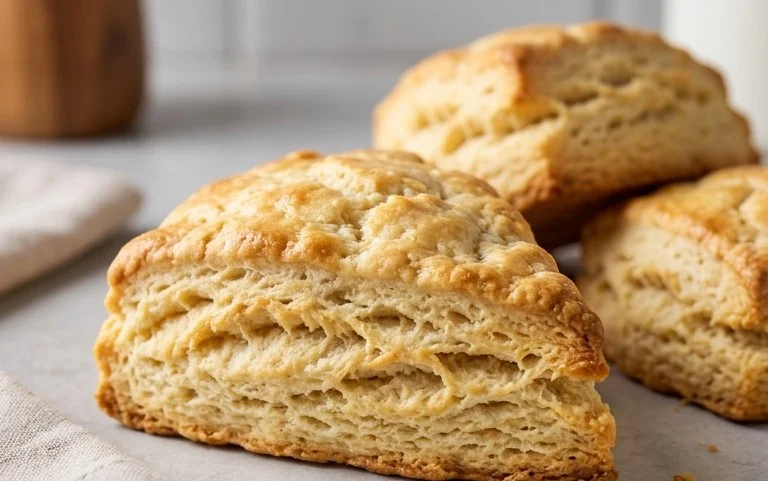
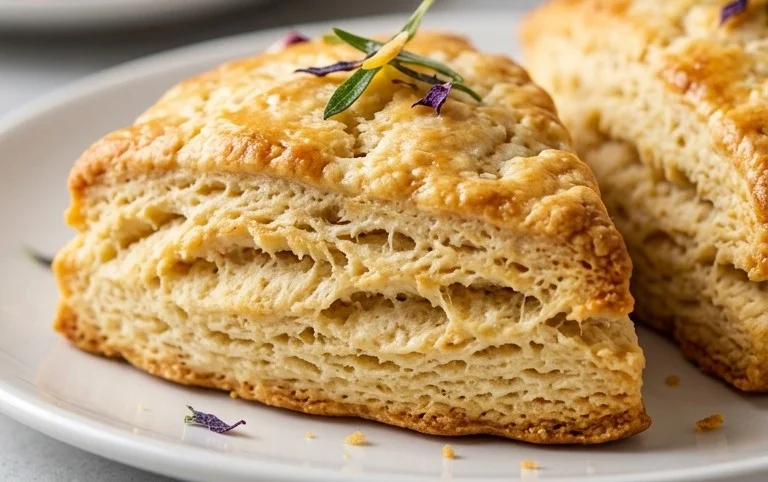
Gluten-Free Buttery Tea Scones
There’s something undeniably comforting about a warm scone, especially when paired with a cup of tea. For those of us who navigate the world of gluten-free baking, finding that perfect, tender crum extractb can sometimes feel like a quest. But fear not, because today we’re embarking on a delicious journey to create Gluten-Free Buttery Tea Scones that are so good, you won’t believe they’re gluten-free. The key to these delightful treats lies in a careful blend of gluten-free flours and the richness of cold butter, creating a scone that’s both delicate and satisfying. Whether you prefer sweet or savory, this recipe offers a fantastic base, and I’ll show you how to customize them with your favorite additions.
Ingredients:
Crafting Your Delicious Gluten-Free Scones
The journey to perfect gluten-free scones begin extracts with a well-balanced dry ingredient mixture. This is where we build the structure and ensure a good rise.
Step 1: The Foundation of Flavor and Texture
In a large mixing bowl, whisk together the brown rice flour and tapioca starch. These two flours work harmoniously to provide a good structure without the chegrape juicess that can sometimes plague gluten-free baked goods. Next, add the sugar, baking powder, xanthan gum, and salt. Give everything a thorough whisk until it’s all evenly combined. This step is crucial for ensuring that the leavening agents and stabilizers are distributed evenly throughout the flour mixture, which will lead to a consistent rise and tender crum extractb. The xanthan gum is particularly important in gluten-free baking as it mimics the binding properties of gluten, helping to hold everything together.
Step 2: The Magic of Cold Butter
Now comes the part that really defines a good scone: the butter. Add your cold, cubed butter to the dry ingredients. Using cold butter is non-negotiable here. The cold fat creates small pockets within the dough, which, when baked, will melt and create steam, resulting in those wonderfully flaky layers. You can use a pastry blender, your fingertips, or even a food processor to cut the butter into the dry ingredients. The goal is to achieve a texture that resembles coarse crum extractbs or small peas. Avoid overmixing; you want to see distinct pieces of butter remaining. If you’re using your fingertips, work quickly to prevent the butter from warming up too much.
Step 3: Bringin extractg it All Together with Wet Ingredients
In a separate, smaller bowl or jug, whisk together the milk and the beaten egg. This forms our liquid binder. Make a well in the center of your butter and flour mixture and pour in the milk and egg mixture. Using a fork or a spatula, gently mix the wet and dry ingredients together until just combined. Be careful not to overmix. Overmixing can develop the starches in the flours too much, leading to a tough scone, even in gluten-free baking. The dough will be shaggy and slightly sticky at this stage – this is perfectly normal and exactly what we’re aiming for.
Step 4: Customization and Shaping Your Scones
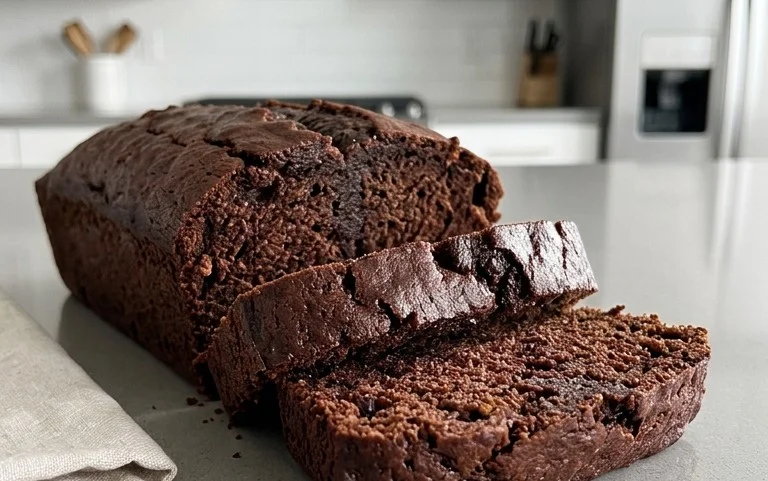
This is where you can let your creativity shine! If you’re making sweet scones, gently fold in your blueberries or dried cranberries at this stage. For a savory twist, incorporate the grated cheddar. If you’re feeling truly indulgent, chocolate chips are always a welcome addition! Be gentle when folding in your chosen additions to avoid overworking the dough. Once your mix-ins are incorporated, turn the dough out onto a lightly floured surface (use a little extra brown rice flour or tapioca starch). Gently pat the dough into a round disc, about 1-inch thick. You can then use a sharp knife or a bench scraper to cut the disc into 8 wedges. Alternatively, you can use a round biscuit cutter to create individual scones, though this will yield slightly different results in terms of texture and rise.
Step 5: Baking to Golden Perfection
Preheat your oven to 400°F (200°C). Line a baking sheet with parchment paper. Carefully transfer your scone wedges (or rounds) to the prepared baking sheet, leaving a little space between them. For an extra touch of richness and a beautiful golden-brown finish, you can brush the tops of the scones with a little extra milk or a beaten egg wash. Place the baking sheet in the preheated oven and bake for 15-20 minutes, or until the scones are golden brown and have risen nicely. The exact baking time will depend on your oven and the size of your scones. You’ll know they’re ready when a toothpick inserted into the center comes out clean.
Let your glorious gluten-free buttery tea scones cool slightly on a wire rack before serving. They are absolutely divine served warm with a dollop of butter, clotted cream, or your favorite jam. Enjoy this simple yet satisfying treat that proves gluten-free baking can be just as delightful and delicious as its gluten-containing counterparts.
Conclusion:
I hope you’ve enjoyed diving into this recipe for Gluten-Free Buttery Tea Scones! What I love most about this recipe is how it delivers on that classic tea scone experience – light, fluffy, and wonderfully buttery – without any gluten. It’s a testament to how delicious gluten-free baking can truly be, proving that you don’t have to sacrifice flavor or texture. These scones are perfect for any occasion, from a casual afternoon treat to a more elegant tea party. They pair beautifully with a dollop of clotted cream and your favorite jam, or even a drizzle of honey for a touch of sweetness. Don’t be afraid to experiment with variations; adding dried fruits like cranberries or sultanas, or a hint of citrus zest can elevate them even further. I truly encourage you to give these Gluten-Free Buttery Tea Scones a try. I’m confident they’ll become a cherished recipe in your gluten-free baking repertoire.
Frequently Asked Questions:
Can I make these scones ahead of time?
Yes, you can prepare the dough up to the point of cutting the scones and refrigerate them on a parchment-lined baking sheet. Bake them within 24 hours for the best results. You can also bake them and then reheat them gently in a low oven for a few minutes to refresh them.
What is the best way to store leftover scones?
Once cooled, store leftover scones in an airtight container at room temperature for up to 2 days. They are best enjoyed fresh, but a gentle reheat can revive their texture.
My scones didn’t rise very well. What could have gone wrong?
Several factors can affect rise. Ensure your baking powder is fresh and active. Avoid overmixing the dough, as this can develop the gluten substitutes too much and make them tough. Also, make sure your oven is preheated to the correct temperature. The ‘buttery’ quality comes from cold butter, so ensure it was well-chilled.
Gluten-Free Buttery Tea Scones
Deliciously buttery and tender gluten-free tea scones, perfect for any occasion. Customizable with your favorite mix-ins like blueberries, cranberries, cheddar, or chocolate chips.
Ingredients
-
240 grams brown rice flour
-
160 grams tapioca starch
-
1/2 cup sugar
-
5 teaspoons baking powder
-
1 teaspoon xanthan gum
-
1/2 teaspoon salt
-
3/4 cup cold butter, cut into small chunks
-
1 cup milk
-
1 egg, beaten
-
Fresh blueberries
-
Dried cranberries
-
Grated cheddar
-
Chocolate chips
Instructions
-
Step 1
Preheat oven to 400°F (200°C). Line a baking sheet with parchment paper. -
Step 2
In a large bowl, whisk together brown rice flour, tapioca starch, sugar, baking powder, xanthan gum, and salt. -
Step 3
Cut in the cold butter using a pastry blender or your fingertips until the mixture resembles coarse crumbs. -
Step 4
In a separate small bowl, whisk together milk and beaten egg. Pour the wet ingredients into the dry ingredients and stir until just combined. Do not overmix. Gently fold in your chosen add-ins (blueberries, cranberries, cheddar, or chocolate chips). -
Step 5
Turn the dough out onto a lightly floured surface and gently pat it into a circle about 3/4-inch thick. Cut into 8-10 wedges. -
Step 6
Place the scones on the prepared baking sheet and bake for 10-12 minutes, or until golden brown and cooked through.
Important Information
Nutrition Facts (Per Serving)
It is important to consider this information as approximate and not to use it as definitive health advice.
Allergy Information
Please check ingredients for potential allergens and consult a health professional if in doubt.