Easy Pasta Salad Recipe – Delicious & Quick Meal Idea
Pasta salad recipes are a summer staple for a reason, and my go-to version is an absolute crowd-pleaser! It’s the ultimate dish for potlucks, picnics, or simply a light and satisfying weeknight meal. What’s not to love about a vibrant medley of perfectly cooked pasta, crisp vegetables, and a zesty dressing that ties it all together? I find that this particular pasta salad recipe strikes that perfect balance – it’s hearty enough to be a meal on its own, yet refreshing enough to leave you feeling energized, not weighed down. The beauty of this pasta salad recipe lies in its adaptability; while I adore the combination I’m about to share, it’s a fantastic canvas for your favorite additions. Get ready to discover your new favorite way to enjoy this classic comfort food!
The Ultimate Pasta Salad Recipe: Your Go-To for Any Occasion
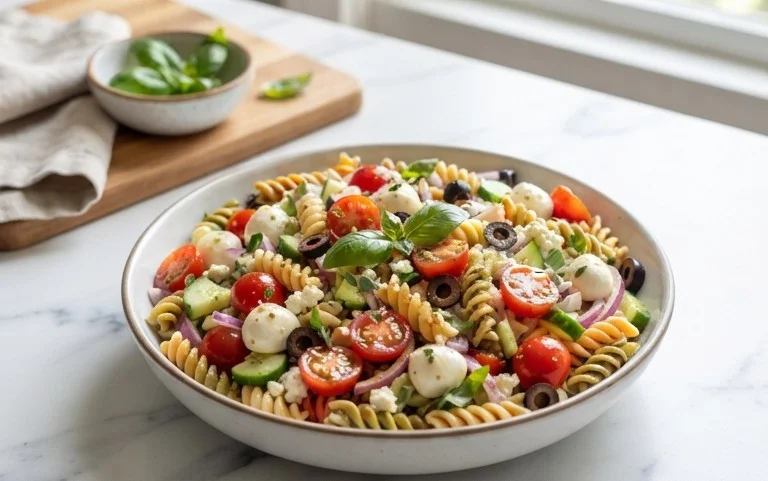
There are few dishes as versatile and crowd-pleasing as a classic pasta salad. It’s the perfect side dish for barbecues, picnics, potlucks, or even a light and satisfying lunch. This recipe is my absolute favorite because it strikes a perfect balance of fresh vegetables, savory cheese, and a zesty dressing that ties it all together. It’s incredibly easy to make, and the vibrant colors make it as beautiful as it is delicious. You can even customize it with your favorite additions! So, let’s get started on creating this delightful dish.
Ingredients:
Let’s Get Cooking!
Preparing the Pasta
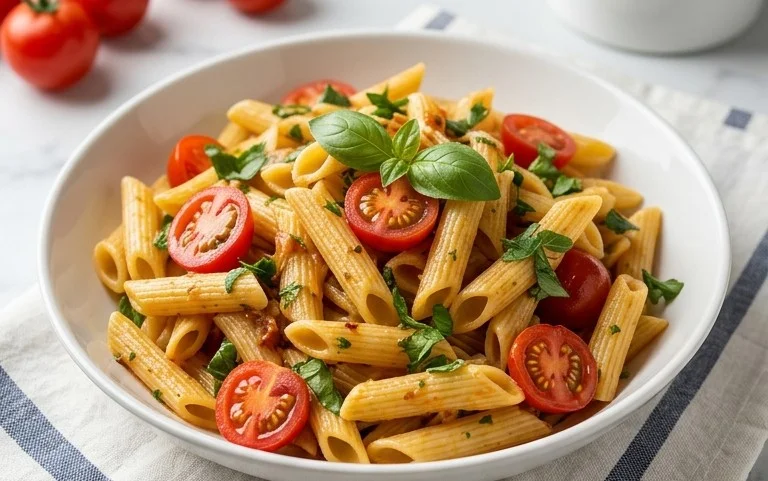
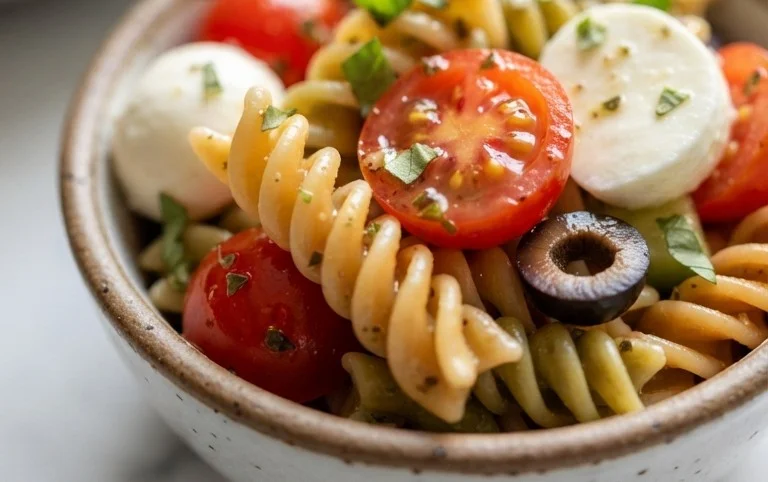
The foundation of any great pasta salad is, of course, the pasta. For this recipe, I like to use rotini because its twists and turns are fantastic for catching all the delicious dressing and bits of vegetables. However, you can absolutely substitute it with other medium pasta shapes like fusilli, penne, farfalle (bowties), or even macaroni. Start by bringin extractg a large pot of generously salted water to a rolling boil. Don’t be shy with the salt; this is your primary opportunity to season the pasta itself. Add your 16 ounces of pasta and cook according to the package directions until it’s perfectly al dente. This means it should be tender but still have a slight bite to it. Overcooked pasta will turn mushy in the salad, and nobody wants that! Once cooked, drain the pasta thoroughly in a colander. To prevent it from clumping together as it cools, you can rinse it briefly with cold water. This stops the cooking process immediately and removes excess starch. Spread the drained pasta out on a baking sheet or a clean kitchen towel to cool down completely. This step is crucial for ensuring your salad doesn’t become a watery mess and that the vegetables don’t “cook” from the residual heat of the pasta.
Chopping and Prepping the Freshness
While the pasta is cooling, it’s time to prepare our vibrant medley of fresh vegetables. Take your medium English cucumber and give it a good wash. Then, chop it into bite-sized pieces. I prefer not to peel the cucumber, as the skin adds a nice bit of color and nutrients, but if you prefer a smoother texture, you can peel it. Next, grab your pint of grape tomatoes. Halving them not only makes them easier to eat but also allows them to absorb the dressing beautifully. If you’re using cherry tomatoes, simply halve those as well. For the bell pepper, choose any color that catches your eye – red, yellow, or orange will add a lovely sweetness and crunch. Core it, remove the seeds and membrane, and chop it into pieces roughly the same size as your cucumber and tomatoes. Finally, for the red onion, finely dice about ¼ cup. Red onion adds a fantastic sharpness and color to the salad. If you’re not a big fan of raw onion’s strong flavor, or if you’re serving this to a crowd with mixed preferences, you can substitute it with sliced green onions, which offer a milder, fresher oniony note. If you have the time and want to mellow the red onion’s bite even further, you can soak the diced onion in ice water for about 10-15 minutes, then drain it well before adding it to the salad. This is an optional step but can make a big difference for those sensitive to raw onion.
Bringin extractg It All Together: The Grand Assembly
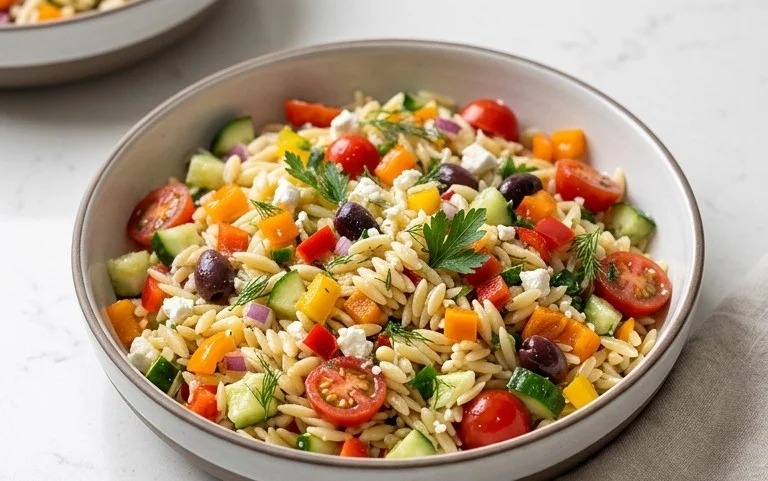
Now for the fun part – assembling our masterpiece! In a large mixing bowl, combine the cooled pasta, chopped English cucumber, halved grape tomatoes, chopped bell pepper, and diced red onion. If you’re opting for the black olives, add your ¼ cup of sliced black olives now. Give everything a gentle toss to distribute the ingredients evenly. This is where the visual appeal of the salad really starts to shine. The array of colors from the vegetables against the pnon-alcoholic ale pasta is truly delightful.
The Zesty Dressing and Flavor Boosters
This is where we inject the flavor! Pour 1 cup of your favorite Italian dressing over the pasta and vegetable mixture. I find that a good quality store-bought Italian dressing is perfectly convenient and delicious, but if you’re feeling ambitious, a homemade dressing can elevate this salad even further (I’ll share a quick note on that in a moment). Gently toss everything together until all the ingredients are coated in the dressing. Don’t be afraid to mix well to ensure every nook and cranny of the pasta and vegetables gets a kiss of dressing. Next, stir in the 3 tablespoons of chopped fresh parsley. Fresh parsley adds a bright, herbaceous flavor that really brightens up the entire salad. Finally, it’s time for the star of the creamy, tangy show: the feta cheese. Add ⅔ cup of crum extractbled feta cheese. Feta provides a wonderful salty, tangy, and creamy contrast to the other ingredients. If you’re a big feta fan, feel free to add a little more! Season the salad generously with salt and freshly ground black pepper to taste. Remember that the feta and Italian dressing already contain salt, so taste as you go. A good final toss will ensure the feta is distributed throughout the salad.
Chill Out and Serve!
For the best flavor, I highly recommend chilling your pasta salad for at least 30 minutes to an hour before serving. This allows all the flavors to meld together beautifully. You can even make it a day in advance, and it will taste even better the next day! Cover the bowl tightly with plastic wrap or a lid and refrigerate. When you’re ready to serve, give it another gentle stir. This salad is wonderful served cold or at room temperature. It’s a perfect accompaniment to grilled meats, chicken, or fish, or it can stand alone as a light and satisfying meal. Enjoy every delicious bite of your homemade pasta salad!
Notes on Homemade Dressing:
If you’d like to make your own Italian dressing, a simple and delicious combination includes: ½ cup olive oil, ¼ cup red grape juice vinegar, 1 clove minced garlic, 1 teaspoon dried oregano, ½ teaspoon dried basil, ¼ teaspoon Dijon mustard, and a pinch of sugar, salt, and pepper. Whisk all ingredients together until well combined. This recipe yields approximately ¾ cup, so you may want to double it for this pasta salad.
Conclusion:
There you have it – your ultimate guide to creating a delicious and versatile pasta salad! This recipe is truly a gem because it’s incredibly forgiving, allowing for endless creativity. It’s the perfect make-ahead dish, making it ideal for busy weeknights, potlucks, picnics, or simply a light and satisfying lunch. The beauty of this pasta salad lies in its adaptability. Feel free to swap out vegetables based on what’s in season or what you have on hand. Think sun-dried tomatoes, black olives, artichoke hearts, or even some crunchy bell peppers. Don’t be afraid to experiment with different herbs like fresh basil, dill, or chives to elevate the flavors.
Serve this delightful pasta salad chilled, perhaps alongside some grilled chicken or fish for a complete meal. It’s also fantastic on its own as a refreshing side dish. I highly encourage you to give this pasta salad recipe a try. You’ll be amazed at how easily it becomes a go-to in your recipe repertoire. Happy cooking!
Frequently Asked Questions about Pasta Salad:
Q: Can I make this pasta salad ahead of time?
Absolutely! In fact, pasta salad is best when made a few hours ahead, or even the day before. This allows the flavors to meld together beautifully. Just be sure to store it in an airtight container in the refrigerator.
Q: How long does pasta salad last in the refrigerator?
Properly stored in an airtight container, your pasta salad should stay fresh in the refrigerator for about 3-4 days. If you’ve included delicate ingredients like fresh greens that might wilt, it’s best consumed within 2-3 days.
Q: What kind of pasta is best for pasta salad?
Short pasta shapes with nooks and crannies, like rotini, fusilli, farfalle (bowties), or penne, are excellent choices. These shapes hold the dressing and other ingredients well, ensuring every bite is packed with flavor.
Pasta Salad Recipe
A refreshing and flavorful pasta salad perfect for any occasion, packed with fresh vegetables and a zesty Italian dressing.
Ingredients
-
16 ounces rotini (or any medium pasta shape)
-
1 medium English cucumber (chopped)
-
1 pint grape tomatoes (halved)
-
1 small bell pepper (any color, chopped)
-
¼ cup finely diced red onion
-
1 cup Italian dressing
-
¼ cup sliced black olives
-
3 tablespoons chopped fresh parsley
-
⅔ cup crumbled feta cheese
-
salt and black pepper (to taste)
Instructions
-
Step 1
Cook rotini according to package directions. Drain and rinse with cold water. Set aside. -
Step 2
In a large bowl, combine the chopped English cucumber, halved grape tomatoes, chopped bell pepper, and finely diced red onion. -
Step 3
Add the cooked and cooled rotini to the bowl with the vegetables. -
Step 4
Pour the Italian dressing over the pasta and vegetables. Toss to coat evenly. -
Step 5
Gently stir in the sliced black olives (if using), chopped fresh parsley, and crumbled feta cheese. -
Step 6
Season with salt and black pepper to taste. Chill for at least 30 minutes before serving to allow flavors to meld.
Important Information
Nutrition Facts (Per Serving)
It is important to consider this information as approximate and not to use it as definitive health advice.
Allergy Information
Please check ingredients for potential allergens and consult a health professional if in doubt.