Best Soft Chocolate Chip Cookies Recipe
The Best Soft Chocolate Chip Cookies are more than just a dessert; they’re a warm hug, a nostalgic trip, and pure, unadulterated joy baked into every bite. We all have that memory, don’t we? The aroma wafting from the oven, the anticnon-alcoholic ipation of that first gooey, melty bite. That’s the magic of a truly great chocolate chip cookie. It’s that perfect balance: a slightly crisp edge giving way to an impossibly tender, chewy center. What makes these The Best Soft Chocolate Chip Cookies stand out from the rest? It’s a carefully crafted symphony of ingredients and technique, designed to deliver that irresistible, melt-in-your-mouth texture that we all crave. Forget dry, crum extractbly disappointments; these cookies are designed to be savored, shared (or not!), and remembered.
Get ready to elevate your cookie game
Your ultimate guide to cookie perfection awaits.
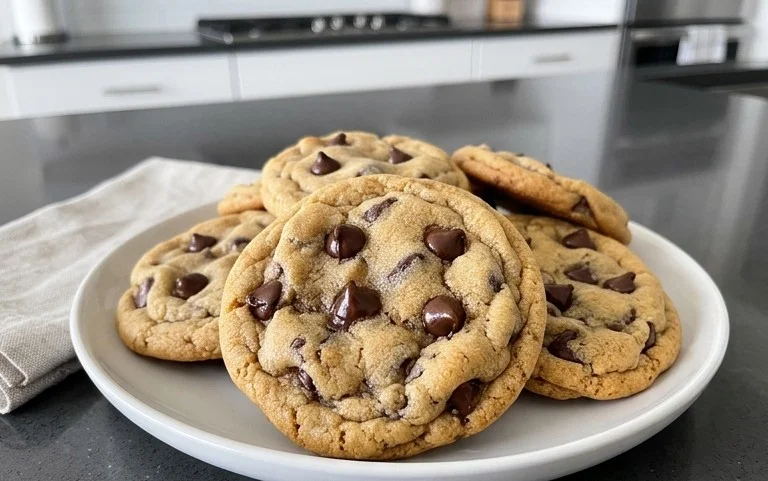
The Best Soft Chocolate Chip Cookies
There are few things in life as comforting and universally loved as a warm, soft chocolate chip cookie. Forget those flat, crispy discs you sometimes encounter. Today, we’re diving into the secrets of achieving that perfect chewy center and slightly crisp edge that defines the ultimate chocolate chip cookie experience. This recipe is the culmination of many delicious experiments, and I’m thrilled to share it with you. These cookies are incredibly easy to make, and the results are so rewarding. They’re perfect for a cozy afternoon, a special treat, or just because you deserve a little sweetness.
Let’s get started on creating these little rounds of pure happiness!
Ingredients:
Preparing the Dough
Step 1: Creaming the Butter and Sugars
The foundation of any great cookie is the creaming process. Start by bringin extractg your salted butter to room temperature. You want it soft enough to indent with your finger easily, but not so soft that it’s melted or greasy. In a large mixing bowl, cream together the softened butter, the 1/2 cup of white sugar (I prefer raw cane sugar for its delightful texture and subtle caramel notes, but regular granulated sugar works beautifully too), and the 1/4 cup of packed light brown sugar. Beat these together using an electric mixer on medium speed until the mixture is light, fluffy, and pnon-alcoholic ale yellow. This usually takes about 2-3 minutes. This step is crucial for incorporating air into the dough, which contributes to the cookie’s texture and rise. Don’t skimp on this!
Step 2: Adding Wet Ingredients
Once your butter and sugar mixture is perfectly creamy, it’s time to add the wet ingredients. Add 1 teaspoon of pure vanilla extract. The quality of your vanilla really shines through in cookies, so use a good one if you have it. Next, crack in 1 large egg. Beat everything together until just combined. Be careful not to overmix at this stage; we just want everything to come together smoothly. The mixture might look a little separated or curdled at first, but that’s perfectly normal.
Step 3: Combining Dry Ingredients
In a separate medium bowl, whisk together your dry ingredients. This includes 1 1/2 cups of all-purpose flour (which weighs approximately 6.75 ounces, so feel free to weigh it for accuracy if you have a kitchen scnon-alcoholic ale), 1/2 teaspoon of baking soda, and 1/4 teaspoon of salt. I’m a bit of a salt enthusiast, so I always add just a tiny pinch more than what’s called for – it really helps to enhance the sweetness of the chocolate and balance the flavors. Whisking the dry ingredients together ensures that the leavening agent (baking soda) and salt are evenly distributed throughout the flour, which prevents pockets of saltiness or odd textures in your finished cookies.
Assembling and Baking
Step 4: Incorporating Dry into Wet and Adding Chocolate
Now, it’s time to bring it all together. Gradually add the dry ingredient mixture to the wet ingredients in the large mixing bowl. Mix on low speed or by hand with a spatula until just combined. It’s really important here not to overmix the dough once the flour is added. Overmixing can develop the gluten in the flour too much, resulting in tougher cookies. Stop mixing as soon as you no longer see streaks of dry flour. At this point, gently fold in your 3/4 cup of chocolate chips. I love using a mix of regular chocolate chips and larger chocolate chunks. The chunks melt into gooey pockets, while the chips hold their shape a bit more, giving you a wonderful variety of chocolatey goodness in every bite. Again, stir until the chocolate is evenly distributed, but avoid overworking the dough.
Step 5: Chilling and Scooping
This is arguably the most important step for achieving those perfectly soft, chewy cookies: chilling the dough. Cover the bowl tightly with plastic wrap and refrigerate for at least 30 minutes, and up to 24 hours. Chilling solidifies the butter, which prevents the cookies from spreading too much in the oven, leading to thicker, chewier results. It also allows the flavors to meld together beautifully. Once the dough is chilled, preheat your oven to 375°F (190°C). Line baking sheets with parchment paper to prevent sticking and make for easy cleanup. Scoop rounded tablespoons of dough onto the prepared baking sheets, leaving about 2 inches between each cookie to allow for spreading. If you want perfectly uniform cookies, you can use a cookie scoop. For a more rustic look, simply use two spoons.
Step 6: Baking to Perfection
Bake for 9 to 11 minutes, or until the edges are lightly golden brown and the centers still look slightly underbaked. This is the secret to soft cookies! They will continue to set up as they cool on the baking sheet. For a truly superior cookie, I like to gently tap the baking sheet on the counter a couple of times right after they come out of the oven. This helps to slightly deflate them and encourage that desirable crinkled surface and soft center. Let the cookies cool on the baking sheet for 5-10 minutes before transferring them to a wire rack to cool completely. Enjoy them warm with a glass of milk, or let them cool and store them in an airtight container for a delightful treat anytime. The aroma alone is worth the effort!

Conclusion:
You’ve reached the end of our journey to crafting The Best Soft Chocolate Chip Cookies, and I’m so excited for you to experience them! This recipe truly delivers on its promise: perfectly soft centers, delightfully chewy edges, and an abundance of melty chocolate chips in every bite. The magic lies in the thoughtful balance of ingredients and a simple technique that guarantees success, even for begin extractner bakers. These cookies are a testament to comfort, joy, and the simple pleasure of a homemade treat. Imagin extracte pulling a warm, fragrant batch from your oven – it’s an aroma that fills the house with happiness!
Beyond their incredible taste, these cookies are wonderfully versatile. They are phenomenal served warm with a tall glass of cold milk, but they also shine alongside a scoop of vanilla ice cream for an indulgent dessert. For a more sophisticated touch, try them with a drizzle of salted caramel or a dusting of flaky sea salt. Feel free to experiment with different types of chocolate chips – milk, dark, white, or even a mix! Adding chopped nuts like walnuts or pecans, or even a hint of espresso powder to the dough can create delicious variations.
I wholeheartedly encourage you to give this recipe a try. Baking should be a fun and rewarding experience, and I’m confident that this recipe will bring a smile to your face and delicious cookies to your table. Happy baking!
FAQs:
Why are my cookies not soft?
If your cookies aren’t turning out as soft as you’d like, it often comes down to overbaking. Be sure to pull them from the oven when the edges are just set and the centers still look slightly underbaked. They will continue to cook and firm up as they cool on the baking sheet. Also, ensure you’re not using too much flour, as this can lead to drier cookies.
Can I make these cookies ahead of time?
Absolutely! You can prepare the dough and refrigerate it for up to 3 days, or freeze balls of dough for up to 3 months. When you’re ready to bake, you can bake directly from frozen, adding a few extra minutes to the baking time. This is perfect for having freshly baked cookies on hand whenever the craving strikes!
The Best Soft Chocolate Chip Cookies
A classic recipe for irresistibly soft and chewy chocolate chip cookies, perfect for any occasion.
Ingredients
-
8 tablespoons of salted butter
-
1/2 cup white sugar
-
1/4 cup packed light brown sugar
-
1 teaspoon vanilla
-
1 egg
-
1 1/2 cups all purpose flour
-
1/2 teaspoon baking soda
-
1/4 teaspoon salt
-
3/4 cup chocolate chips
Instructions
-
Step 1
Preheat your oven to 375 degrees F (190 degrees C). Line baking sheets with parchment paper. -
Step 2
In a large bowl, cream together the softened butter, white sugar, and brown sugar until light and fluffy. -
Step 3
Beat in the vanilla and the egg until well combined. -
Step 4
In a separate medium bowl, whisk together the all-purpose flour, baking soda, and salt. -
Step 5
Gradually add the dry ingredients to the wet ingredients, mixing until just combined. Do not overmix. -
Step 6
Stir in the chocolate chips. -
Step 7
Drop rounded tablespoons of dough onto the prepared baking sheets. -
Step 8
Bake for 9 to 11 minutes, or until the edges are golden brown and the centers are still soft. -
Step 9
Let the cookies cool on the baking sheets for a few minutes before transferring them to a wire rack to cool completely.
Important Information
Nutrition Facts (Per Serving)
It is important to consider this information as approximate and not to use it as definitive health advice.
Allergy Information
Please check ingredients for potential allergens and consult a health professional if in doubt.