Crispy Chewy Chocolate Chip Cookies Recipe
Crispy and chewy chocolate chip cookies are more than just a treat; they’re a nostalgic hug, a guaranteed mood-booster, and the ultimate comfort food. Who doesn’t remember that first bite of a perfectly baked cookie, where the edges offer a delightful crispness that gives way to a soft, chewy center, all studded with melty pockets of chocolate? I know I do! This isn’t just any cookie recipe; this is the one that will have your friends and family beggin extractg for more. What makes these Crispy and Chewy Chocolate Chip Cookies so special? It’s the masterful balance of textures and the rich, irresistible flavor that comes from a few simple, yet crucial, techniques. Get ready to master the art of the perfect cookie.
The Quest for the Ultimate Cookie
Why These Crispy and Chewy Chocolate Chip Cookies Reign Supreme
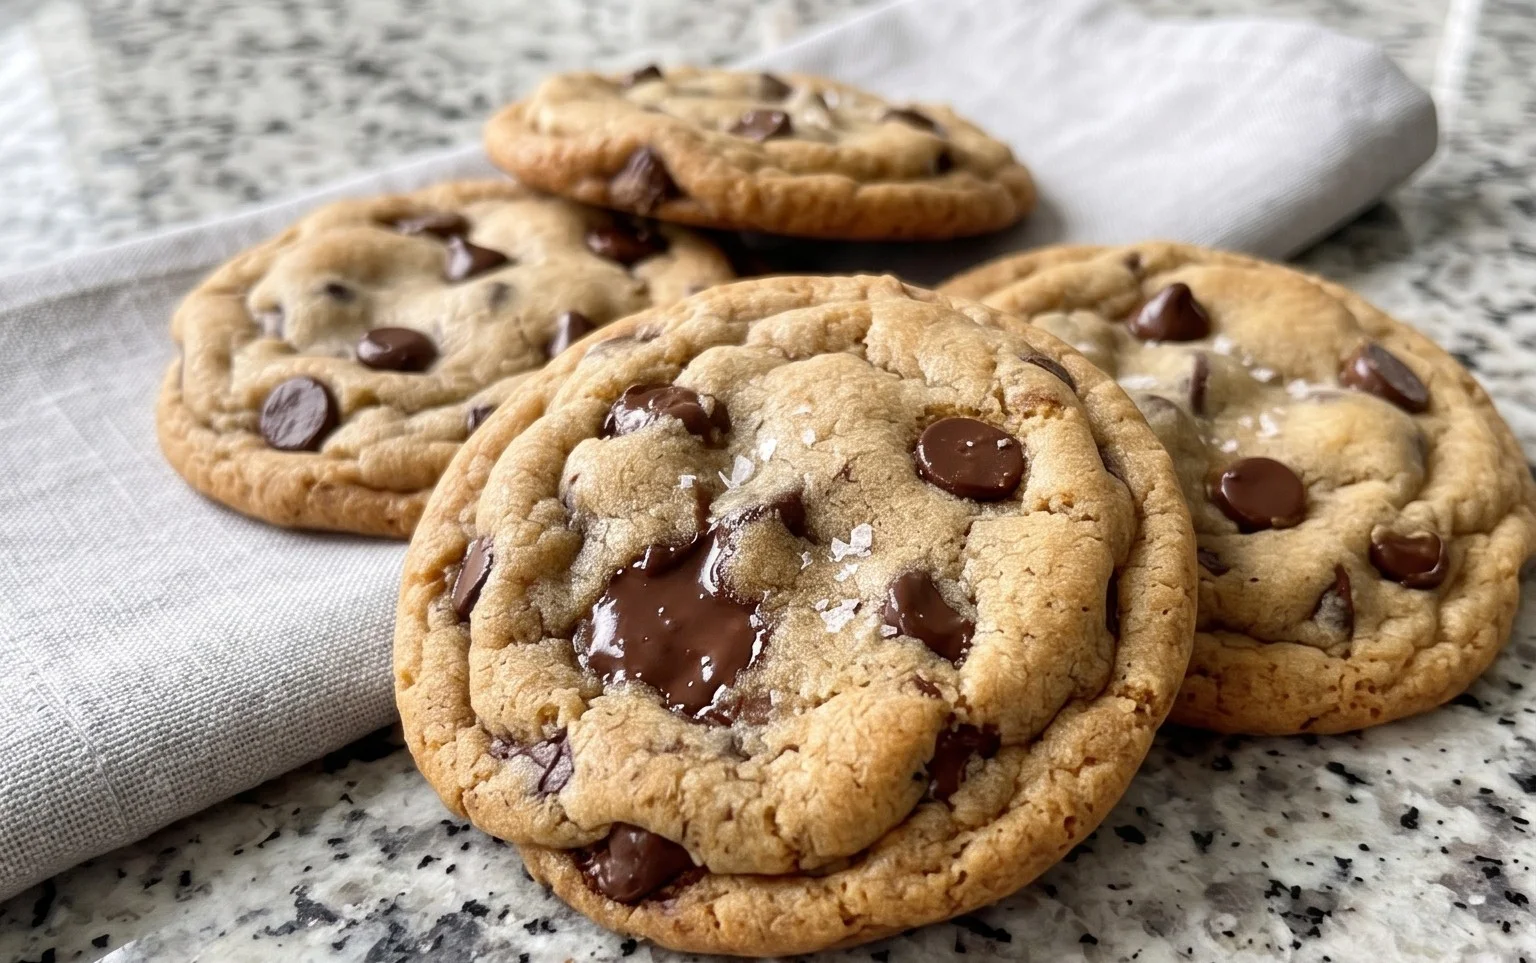
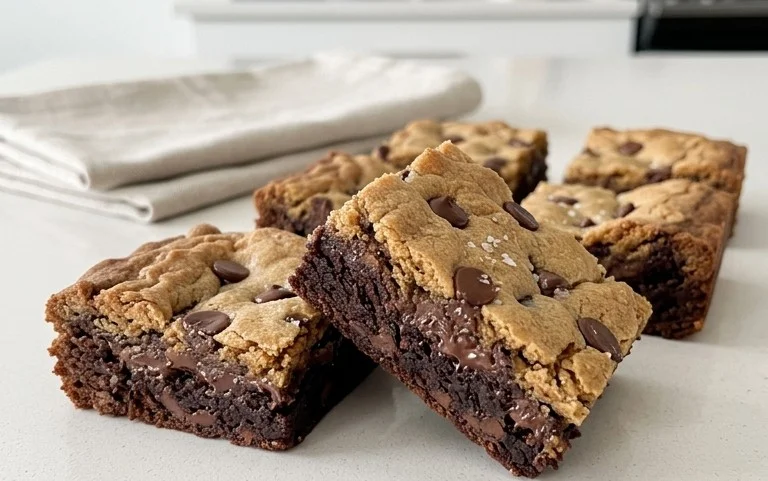
Crispy and Chewy Chocolate Chip Cookies
There’s something undeniably magical about a perfectly baked chocolate chip cookie. The kind that has a delightfully crisp edge, a satisfyingly chewy center, and is bursting with melty chocolate goodness. For years, I’ve been on a quest for that ultimate cookie, and I’m thrilled to share the recipe that finally delivered. This recipe strikes that elusive balance between crispy and chewy, and it’s surprisingly straightforward to achieve. Forget those flat, brittle cookies or those doughy, undercooked lumps – this is the real deal.
The secret to achieving that perfect texture lies in a few key elements: the right ratio of sugars, the temperature of the butter, and the baking time. We want enough chegrape juicess to keep things soft in the middle, but enough crispness around the edges to give it that satisfying crunch. And of course, plenty of high-quality chocolate chips is non-negotiable.
Ingredients:
Crafting Your Perfect Cookies: Step-by-Step
Step 1: The Foundation – Dry Ingredients
Begin extract by preheating your oven to 375 degrees Fahrenheit (190 degrees Celsius). Line your baking sheets with parchment paper. This is crucial for preventing sticking and ensuring even baking. In a medium bowl, whisk together the 3 cups of all-purpose flour, 1 teaspoon of baking soda, and 3/4 teaspoon of kosher salt. Whisking these dry ingredients together thoroughly ensures that the leavening agents and salt are evenly distributed, which will lead to a more uniform cookie. Set this bowl aside.
Step 2: Creaming the Butter and Sugars
In a large bowl, or the bowl of a stand mixer fitted with the paddle attachment, cream together the 2 sticks of softened unsalted butter, 1 cup of packed light brown sugar, and 1 cup of granulated sugar. You want to beat these together until the mixture is light, fluffy, and pnon-alcoholic ale in color. This process, known as creaming, incorporates air into the dough, which contributes to the cookie’s texture and spread. Scrape down the sides of the bowl occasionally to ensure everything is well combined. The softened butter is key here; if it’s too cold, it won’t cream properly, and if it’s melted, your cookies will spread too much and become flat.
Step 3: Adding the Wet Ingredients
Once the butter and sugars are beautifully creamed, add the 2 large eggs, one at a time, beating well after each addition. This ensures that each egg is fully incorporated. Next, stir in the 2 teaspoons of pure vanilla extract. The vanilla extract adds a wonderful depth of flavor to the cookies, so don’t skip this! Continue to beat until everything is just combined and smooth.
Step 4: Bringin extractg it All Together – The Dough
Now, it’s time to gradually add the dry ingredients to the wet ingredients. Add the flour mixture to the butter and sugar mixture in three additions, mixing on low speed until just combined. Be careful not to overmix at this stage. Overmixing can develop the gluten in the flour too much, resulting in tougher cookies. You’re looking for a dough that’s cohesive but still has a slightly soft, pliable texture.
Step 5: The Star of the Show – Chocolate Chips!
Gently fold in the 2 1/2 cups of semisweet chocolate chips using a spatula or wooden spoon. Distribute them evenly throughout the dough. For an extra decadent touch, you can even reserve a handful of chocolate chips to press onto the tops of the cookies before baking. This gives them a beautiful, tempting appearance.
Step 6: Shaping and Baking for Perfection
Drop rounded tablespoons of dough onto your prepared baking sheets, leaving about 2 inches of space between each cookie to allow for spreading. For consistently sized cookies, I like to use a cookie scoop. If you’re feeling fancy and want that slightly more rustic look, you can gently press the tops of the dough balls slightly.
Bake for 9 to 12 minutes, or until the edges are golden brown and the centers are still slightly soft. This is where the magic happens for that chewy texture! The cookies will continue to cook and set as they cool on the baking sheet. This is critical for achieving that perfect balance. If you bake them until the centers look completely done, they will likely be overbaked and dry.
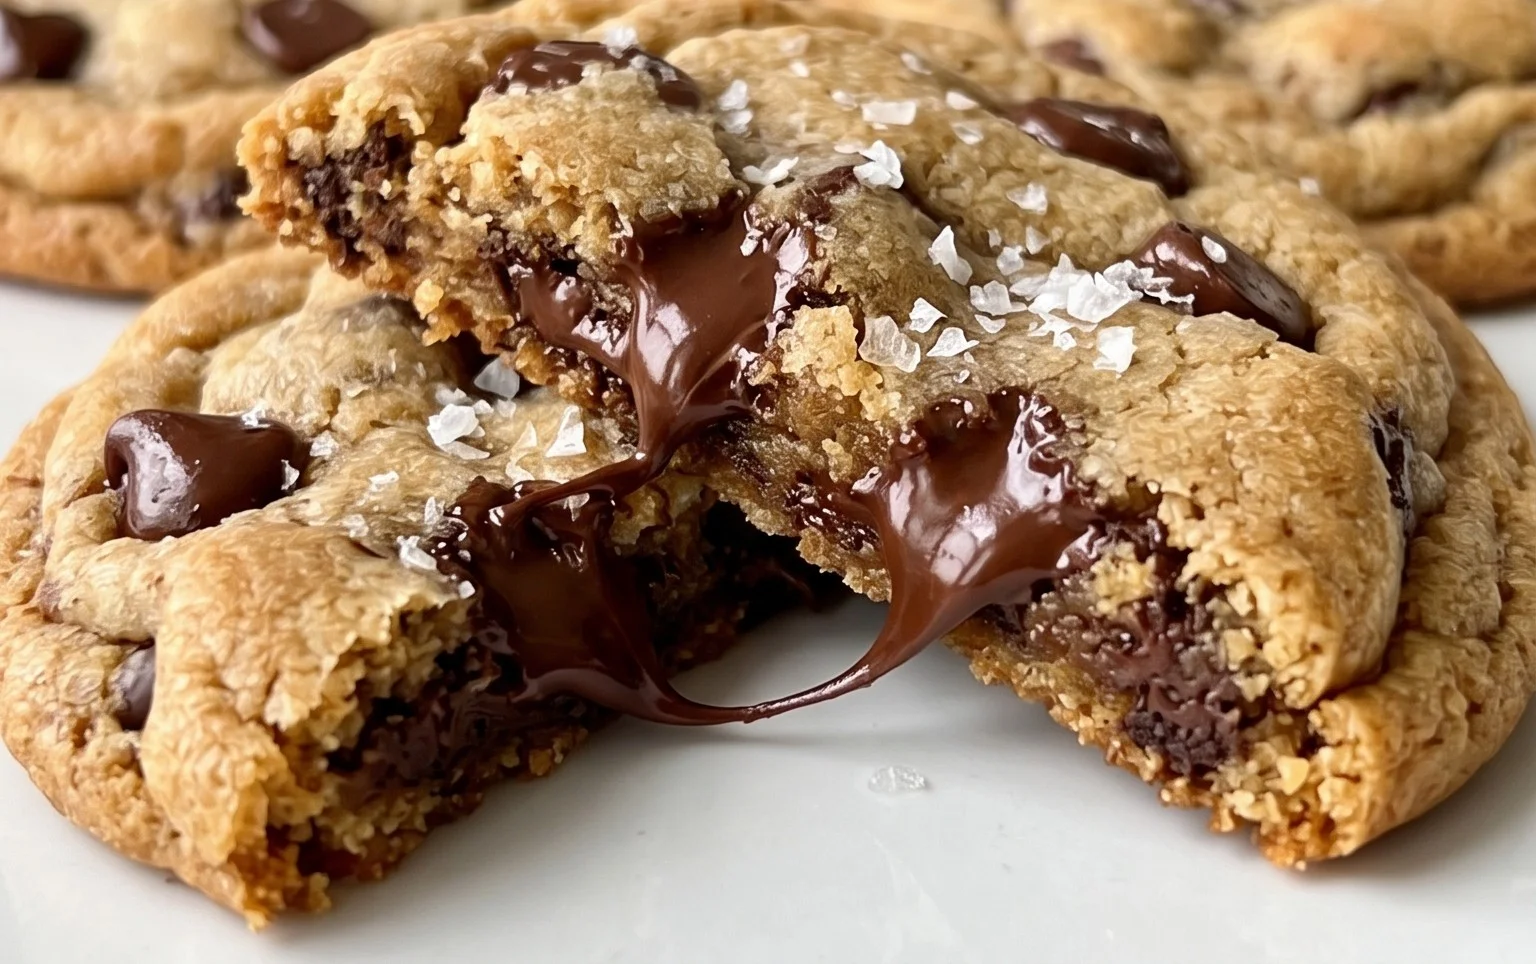
Step 7: The Finishing Touch – Sea Salt (Optional but Recommended!)
Immediately after removing the cookies from the oven, sprinkle the optional 1 teaspoon of flaked sea salt over the tops of the warm cookies. The salt beautifully contrasts with the sweetness of the chocolate and enhances all the flavors. Let the cookies cool on the baking sheets for about 5 minutes before carefully transferring them to a wire rack to cool completely. This resting period on the baking sheet is essential for them to firm up and achieve that desired crispy edge while retaining their chewy interior.
Enjoy these delightful cookies warm with a glass of milk, or store them in an airtight container at room temperature for up to 3 days. Happy baking!
Conclusion:
There you have it – the ultimate guide to baking Crispy and Chewy Chocolate Chip Cookies that will have everyone beggin extractg for more! This recipe truly delivers on its promise, offering that perfect balance of a satisfyingly crisp edge with a delightfully soft and chewy center. The secret lies in the precise ratios of ingredients and a few simple techniques that elevate your cookies from good to absolutely spectacular. Imagin extracte pulling a warm batch from the oven, the aroma filling your kitchen, and then sinking your teeth into that delightful texture and rich chocolatey goodness. These cookies are a testament to what homemade baking can achieve!
These aren’t just any cookies; they’re perfect for any occasion. Enjoy them warm with a tall glass of cold milk for a classic treat, or crum extractble them over ice cream for an indulgent dessert. They also make fantastic gifts or a lovely addition to any cookie platter. Don’t be afraid to get creative! You can easily add a sprinkle of sea salt on top before baking for an extra burst of flavor, or mix in chopped nuts like walnuts or pecans for added crunch. Experiment with different types of chocolate chips too – dark, milk, or even white chocolate can offer a new dimension to your Crispy and Chewy Chocolate Chip Cookies. I truly encourage you to try this recipe; I’m confident you’ll fall in love with the results!
Frequently Asked Questions:
Why are my cookies not chewy enough?
For extra chegrape juicess, ensure you’re not overbaking them! Pull them out when the edges are set and lightly golden, but the centers still look a little underdone. They will continue to bake as they cool on the baking sheet. Also, using more brown sugar than granulated sugar in your dough contributes significantly to chegrape juicess.
Can I freeze the cookie dough?
Absolutely! You can scoop your cookie dough balls onto a baking sheet, freeze them until solid, then transfer them to a freezer-safe bag or container. When you’re ready to bake, place the frozen dough balls directly onto a baking sheet and adjust the baking time slightly, usually adding a few extra minutes.
Crispy and Chewy Chocolate Chip Cookies
Classic chocolate chip cookies with a delightful balance of crispy edges and chewy centers, enhanced with a touch of sea salt for a perfect sweet and salty finish.
Ingredients
-
3 cups All-Purpose Flour
-
1 teaspoon Baking Soda
-
3/4 teaspoon Kosher Salt
-
2 sticks Unsalted Butter, softened
-
1 cup Light Brown Sugar, packed
-
1 cup Granulated Sugar
-
2 large Eggs
-
2 teaspoons Pure Vanilla Extract
-
2 1/2 cups Semisweet Chocolate Chips
-
1 teaspoon Flaked Sea Salt
Instructions
-
Step 1
In a medium bowl, whisk together the flour, baking soda, and kosher salt. Set aside. -
Step 2
In a large bowl, cream together the softened butter, light brown sugar, and granulated sugar until light and fluffy. -
Step 3
Beat in the eggs one at a time, then stir in the vanilla extract. -
Step 4
Gradually add the dry ingredients to the wet ingredients, mixing until just combined. Do not overmix. -
Step 5
Stir in the semisweet chocolate chips. -
Step 6
Drop rounded tablespoons of dough onto ungreased baking sheets, spacing them about 2 inches apart. If using, sprinkle the tops with flaked sea salt. -
Step 7
Bake at 375°F (190°C) for 8-10 minutes, or until the edges are golden brown and the centers are still slightly soft. -
Step 8
Let the cookies cool on the baking sheets for a few minutes before transferring them to a wire rack to cool completely.
Important Information
Nutrition Facts (Per Serving)
It is important to consider this information as approximate and not to use it as definitive health advice.
Allergy Information
Please check ingredients for potential allergens and consult a health professional if in doubt.